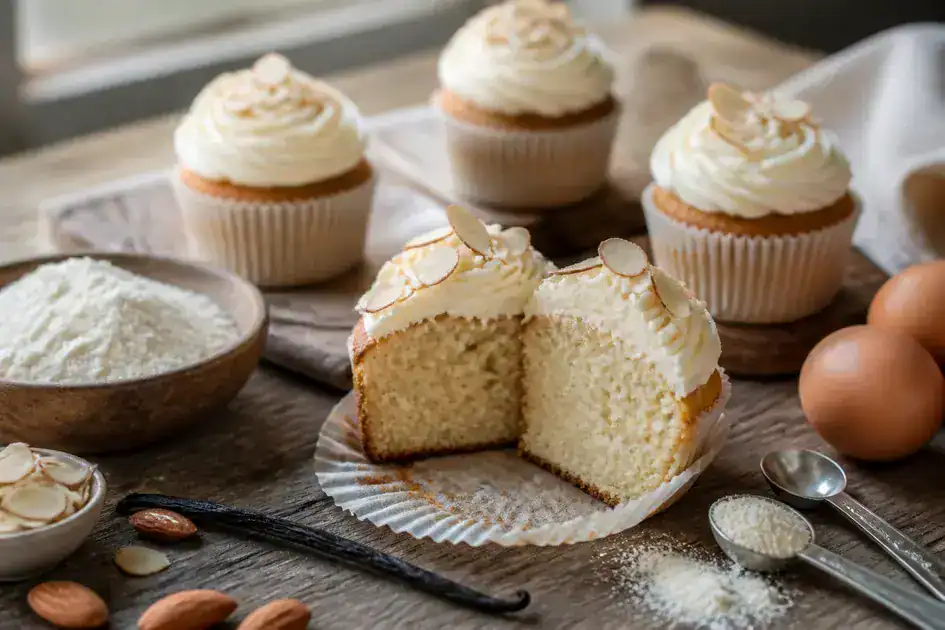

gluten free cupcakes can achieve tender, moist, bakery-quality results when you use a balanced flour blend (rice, starch, sorghum or almond), an appropriate binder like xanthan or psyllium, precise weighing, and simple techniques—room-temperature ingredients, gentle mixing, and correct bake time—to avoid gumminess, dryness, or collapsing centers.
gluten free cupcakes can be moist and irresistible — curious how to bake them without fuss? I’ll share a reliable recipe, smart swaps, and pro tips so your cupcakes impress every time.
Ingredients of gluten-free cupcakes
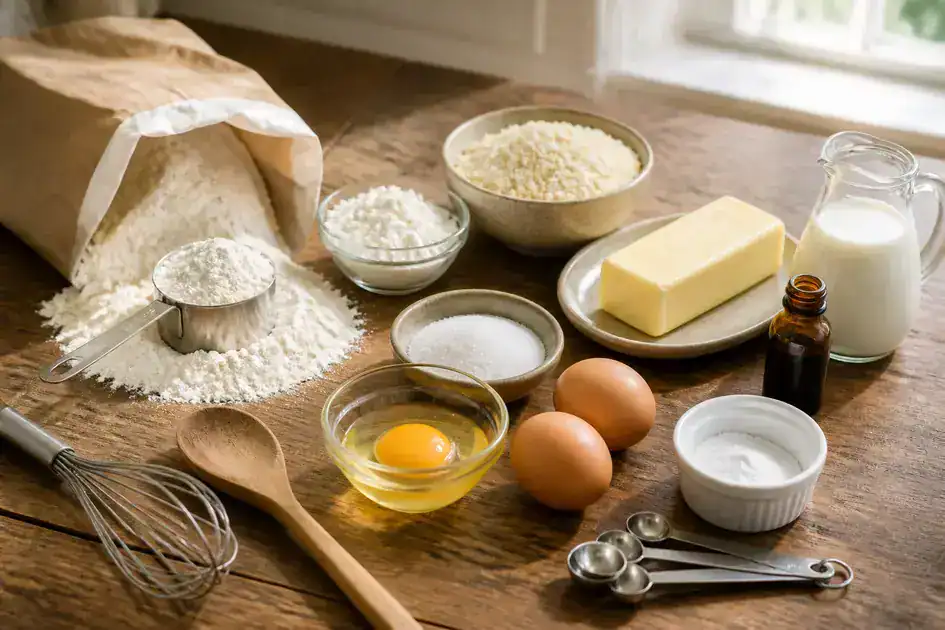
To bake reliable gluten-free cupcakes, gather the ingredients below. Each item includes measurements and possible substitutions.
- 2 cups gluten-free all-purpose flour blend (preferably 1:1 with xanthan gum) – use a cup-for-cup blend; if your blend lacks xanthan gum, add 1/2 tsp xanthan gum.
- 2 tbsp cornstarch or tapioca starch – lightens the crumb; substitute with potato starch if needed.
- 1 1/2 tsp baking powder – for lift.
- 1/2 tsp baking soda – improves rise and browning.
- 1/2 tsp fine salt – balances sweetness.
- 1 cup granulated sugar – swap half for light brown sugar for a moister, deeper flavor.
- 1/2 cup (115 g) unsalted butter, softened – or 1/3 cup neutral oil (canola, vegetable) for dairy-free cupcakes.
- 2 large eggs, room temperature – or 2 flax eggs (2 tbsp ground flax + 6 tbsp water) for egg-free baking.
- 3/4 cup buttermilk, room temperature – or dairy-free milk + 1 tbsp vinegar (makes a quick buttermilk), or thin plain yogurt.
- 2 tsp pure vanilla extract – for flavor; orange or almond extract can be used sparingly.
- 1/4 cup sour cream or plain yogurt – adds tenderness and moisture; use dairy-free yogurt if needed.
- Optional: 1/4 cup almond flour – improves texture and keeps cupcakes tender; omit for nut allergies.
- Optional: 1/2 tsp xanthan gum – add only if your flour blend does not already include it.
- Optional toppings – powdered sugar, buttercream frosting (use gluten-free-certified ingredients), or fresh berries as garnish.
Substitutions and practical tips
Measure by weight when possible for consistent results (weighing flour avoids packing errors). Bring eggs and dairy to room temperature; they incorporate better and give a smoother batter. If you use a homemade flour mix, make sure to include a binder (xanthan gum or psyllium husk) to improve structure.
Always check package labels for a gluten-free certification if you need strict gluten avoidance. For a dairy-free version: swap butter for neutral oil, use dairy-free yogurt, and replace buttermilk with plant milk plus vinegar.
How to prepare gluten-free cupcakes: step-by-step
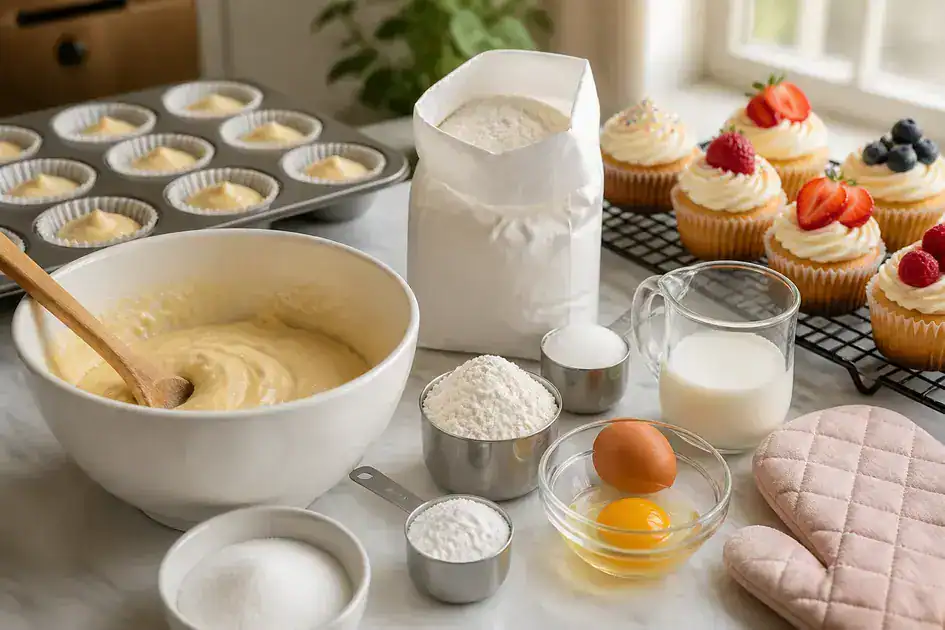
- Preheat the oven to 350°F (175°C) and line a 12-cup muffin tin with cupcake liners.
- Prepare dry ingredients: Whisk together 2 cups gluten-free all-purpose flour blend, 2 tbsp cornstarch, 1 1/2 tsp baking powder, 1/2 tsp baking soda, and 1/2 tsp salt in a medium bowl; set aside.
- Cream butter and sugar: In a large bowl, beat 1/2 cup softened unsalted butter with 1 cup granulated sugar for 2–3 minutes until light and fluffy. Scrape the bowl as needed.
- Add eggs and flavor: Add 2 room-temperature eggs one at a time, mixing briefly after each. Stir in 2 tsp vanilla extract.
- Alternate wet and dry: Add the dry ingredients and 3/4 cup buttermilk in three additions, starting and ending with the dry mix. Mix gently and stop when just combined to avoid overworking the batter.
- Fold in extras: Fold 1/4 cup sour cream (or dairy-free yogurt) and optional 1/4 cup almond flour into the batter for extra moisture and tenderness.
- Check batter consistency: The batter should be thick but scoopable. If too stiff, add 1 tbsp milk at a time; if too thin, add 1–2 tbsp more gluten-free flour.
- Portion the batter: Use a spoon or ice cream scoop to fill each liner about 2/3 full for even rise and a rounded top.
- Bake: Bake at 350°F (175°C) for 18–22 minutes, rotating the pan halfway through if your oven bakes unevenly.
- Test for doneness: Insert a toothpick in the center; it should come out with a few moist crumbs but no wet batter.
- Cool briefly in the pan: Let cupcakes rest in the tin for 5–10 minutes, then transfer to a wire rack to cool completely before frosting.
Frosting and finishing
For a classic buttercream, beat 1/2 cup softened butter with 2 cups powdered sugar, 1–2 tbsp milk, and 1 tsp vanilla until smooth. For dairy-free, use 1/2 cup neutral oil or dairy-free margarine and dairy-free milk. Pipe or spread the frosting once cupcakes are fully cooled. Add sprinkles, fresh berries, or a dusting of powdered sugar as desired.
Troubleshooting tips
- Dense cupcakes: Don’t overmix after adding flour; use room-temperature eggs and do not pack flour when measuring.
- Dry cupcakes: Check oven temperature with an oven thermometer; reduce bake time by 2–4 minutes if needed and avoid overbaking.
- Falling centers: Don’t open the oven door during the first 12–15 minutes and measure leaveners accurately.
- Gummy texture: Ensure your flour blend includes a binder (xanthan gum) or add 1/2 tsp if missing; avoid excess moisture from too much liquid.
Choosing the right gluten-free flours and binders
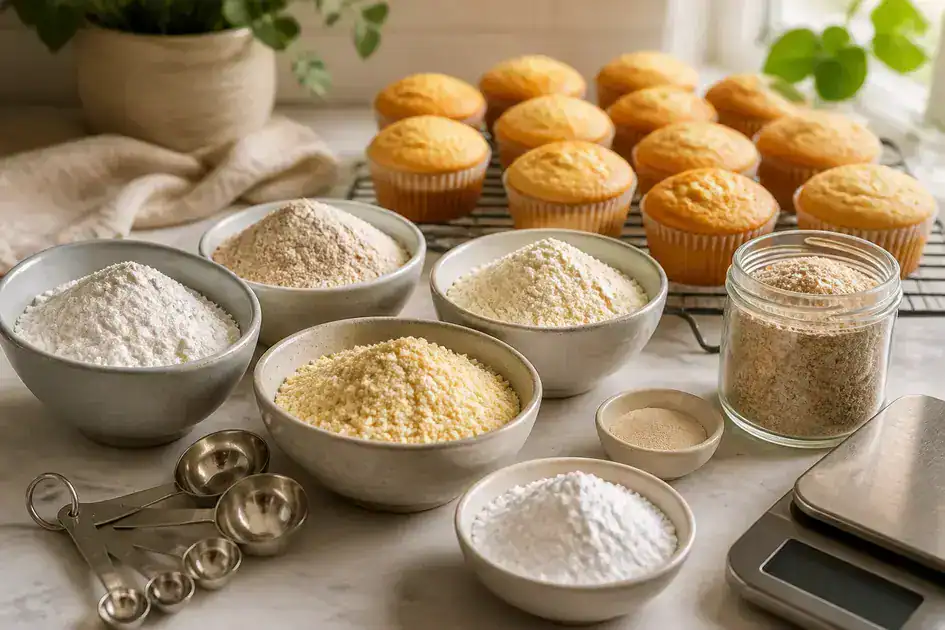
Different gluten-free flours behave in unique ways, so choosing the right mix is key to tender, moist cupcakes. A blend of flours and a reliable binder usually gives the best rise and texture.
- White rice flour – neutral flavor and light texture; good as a base but can be gritty alone.
- Brown rice flour – more flavor and fiber; use with lighter starches to avoid heaviness.
- Sorghum or millet flour – adds mild, slightly sweet notes and helps crumb structure when combined with starches.
- Tapioca starch (or cornstarch) – adds chew and lightness; use 15–30% of the total flour weight to improve crumb.
- Potato starch – makes cupcakes tender and moist; use it alongside flour rather than alone.
- Almond flour – adds moisture and richness; use up to 15–25% of the flour blend, or omit for nut-free versions.
Recommended DIY blend for cupcakes
For reliably tender cupcakes, try a simple ratio by weight: 40% white rice flour, 30% tapioca starch, 20% sorghum (or millet), 10% almond flour. If you measure by volume, use a good 1:1 gluten-free all-purpose blend instead.
Binders and how to use them
Binders replace gluten’s elasticity. They help batter hold air and keep crumbs from falling apart.
- Xanthan gum: use about 1/2 tsp per cup of gluten-free flour for cupcakes. Too much makes a gummy texture.
- Psyllium husk powder: excellent for structure and moisture; use 1 tsp per cup for a softer, more elastic crumb.
- Eggs: natural binder that improves lift and texture; replace with flax or chia eggs if needed (2 tbsp ground flax + 6 tbsp water = 1 egg).
- Combination: often the best approach is xanthan gum + an egg (or egg replacer) for light, stable cupcakes.
Practical tips for better cupcakes
- Measure by weight: weight gives consistent results; cup measures vary too much with gluten-free flours.
- Include a starch: adding tapioca or cornstarch lightens the crumb and prevents grittiness.
- Room temperature ingredients: eggs and dairy mix more evenly when warm, giving a smoother batter.
- Don’t overmix: mix just until combined to protect air bubbles and keep cupcakes tender.
- Adjust liquids: some blends absorb more; add milk a tablespoon at a time if batter seems too thick.
- Check labels: use certified gluten-free ingredients when you need strict avoidance.
Store flours in airtight containers in a cool, dry place or refrigerate to extend freshness, and test small batches when changing a blend to dial in texture and rise.
Troubleshooting common issues (texture, rising, moisture)
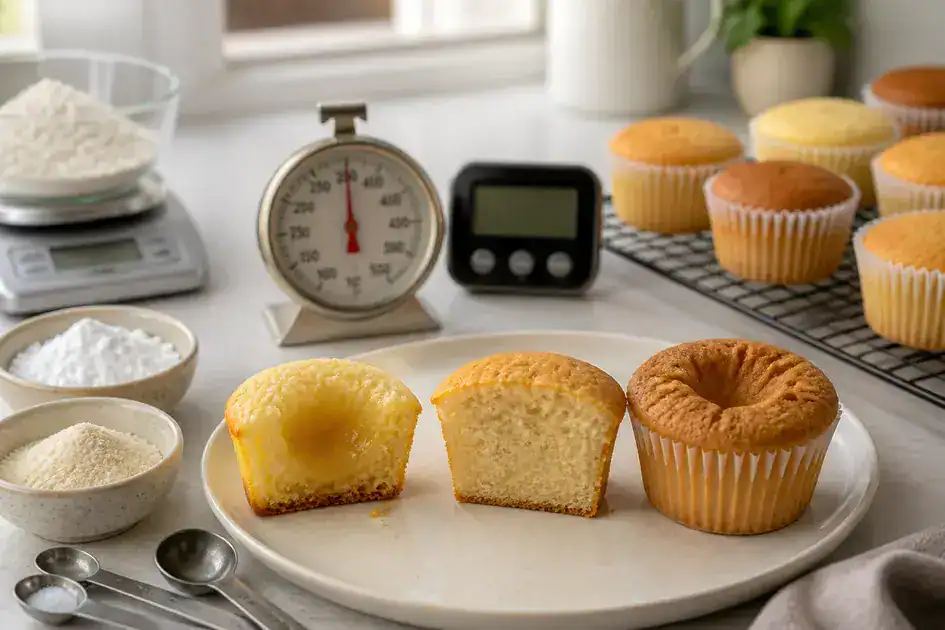
If your gluten-free cupcakes turn out off—too dense, gummy, dry, or flat—these clear checks and fixes help you get consistent results.
Dense or heavy texture
Cause: too much heavy flour, overmixing, or not enough starch or leavening.
- Measure by weight: weigh flours to avoid packed cups.
- Use a starch: add tapioca or cornstarch (15–30% of mix) to lighten crumb.
- Mix gently: combine until just incorporated to keep air in the batter.
- Check leaveners: ensure baking powder and baking soda are fresh.
Gummy or wet crumb
Cause: too much liquid, excess binder (xanthan gum), or underbaking.
- Reduce xanthan gum: try 1/4–1/2 tsp per cup of flour if texture is gummy.
- Adjust liquids: cut 1–2 tbsp liquid or add 1–2 tbsp more flour blend if batter is very loose.
- Test doneness: bake until a toothpick shows moist crumbs, not wet batter; avoid underbaking.
Cupcakes don’t rise or are dense in the middle
Cause: old leavening, wrong oven temp, or heavy batter.
- Verify oven temperature: use an oven thermometer; many ovens run hot or cool.
- Fresh leaveners: replace baking powder every 6–12 months and keep baking soda dry.
- Proper batter fill: fill liners 2/3 full; overfilled tins can collapse in the center.
Dry or crumbly cupcakes
Cause: overmixing, overbaking, or too little fat or sugar.
- Shorten bake time: remove 2–4 minutes earlier and check.
- Add moisture: include sour cream, yogurt, or an extra tablespoon of oil or butter.
- Don’t overmix after flour: stop as soon as the batter is uniform.
Sinking centers after baking
Cause: underbaked centers, too much leavening, or rapid temperature changes.
- Finish baking: ensure centers pass the toothpick test with few moist crumbs.
- Measure leaveners carefully: follow the recipe—too much baking powder can rise then collapse.
- Cool gradually: let cupcakes rest in the tin 5–10 minutes before moving to a rack.
Gritty or sandy texture
Cause: coarse rice flour or insufficient starch.
- Add finer starch: increase tapioca or cornstarch slightly to smooth crumb.
- Use a blend: combine rice flour with sorghum or almond flour for better mouthfeel.
Quick troubleshooting checklist
- Weigh ingredients for consistency.
- Check oven temp with a thermometer.
- Fresh leavening and correct xanthan/psyllium amounts.
- Room-temperature wet ingredients for better emulsion.
- Avoid overmixing after adding flour.
- Test doneness with a toothpick; look for moist crumbs, not wet batter.
Try small test batches when changing a flour blend or binder to find the best balance for your taste and texture.
Variations and flavor ideas for every occasion
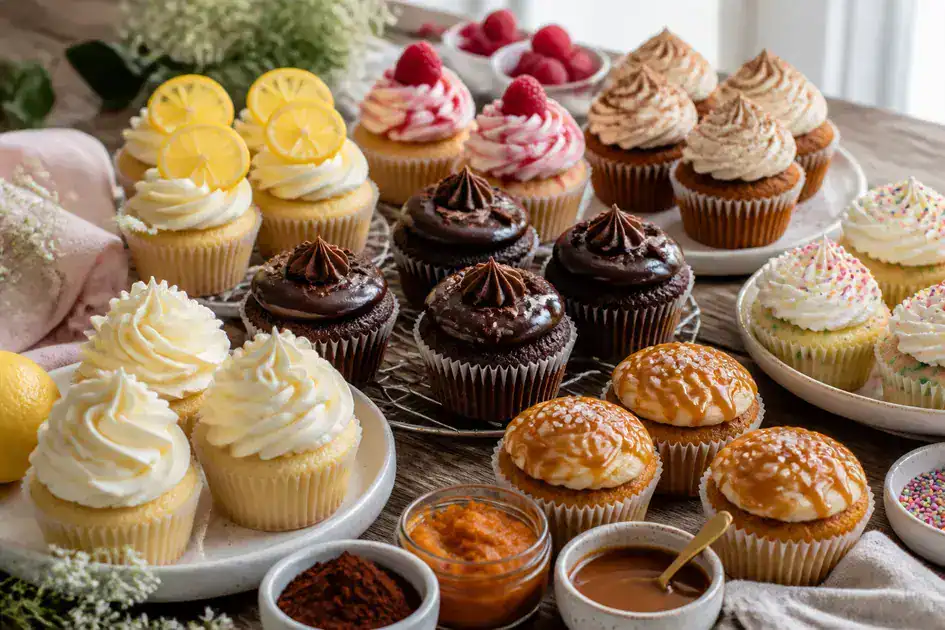
Classic vanilla and chocolate
Simple, crowd-pleasing flavors that work for any event. Use reliable swaps to suit diets without losing texture.
- Vanilla: add 2 tsp pure vanilla extract to basic batter; fold in 1 tbsp sour cream for extra moistness.
- Chocolate: replace 1/3 cup of flour with 1/3 cup unsweetened cocoa powder and reduce sugar by 2 tbsp; add 2 tbsp melted dark chocolate for depth.
Fruity and fresh
Bright, light cupcakes that pair well with summer gatherings or tea time.
- Lemon: zest of 2 lemons + 2 tbsp lemon juice; swap half the buttermilk for plain yogurt.
- Raspberry swirl: fold 1/2 cup fresh or thawed raspberries into batter or swirl 1/4 cup raspberry sauce before baking.
Spiced and seasonal
Warm spices make cupcakes feel cozy for fall and winter occasions.
- Pumpkin spice: add 1/2 cup canned pumpkin and 1 tsp pumpkin pie spice; reduce other liquids by 2 tbsp.
- Gingerbread: add 1 tsp ground ginger, 1/2 tsp cinnamon, 1/4 tsp cloves, and 1/4 cup molasses.
Indulgent and rich
For special occasions when you want luxurious flavor and texture.
- Salted caramel: fold 2 tbsp caramel sauce into batter and top with a drizzle of caramel and a sprinkle of flaky sea salt.
- Red velvet: replace 2 tbsp flour with 2 tbsp cocoa, add 1 tbsp red food coloring (or beet powder), and finish with cream cheese frosting.
Dairy-free and vegan options
Flavorful choices that keep cupcakes moist without dairy or eggs.
- Vegan vanilla: use 1/3 cup neutral oil, 2 flax eggs (2 tbsp ground flax + 6 tbsp water), and dairy-free yogurt in place of sour cream.
- Chocolate (dairy-free): use plant-based milk and 3 tbsp aquafaba whipped until frothy for lift.
Kid-friendly and party-ready
Bright colors and fun textures make these perfect for birthdays and celebrations.
- Confetti (funfetti): fold 1/3 cup gluten-free sprinkles into batter; use a vanilla buttercream and top with extra sprinkles.
- Peanut butter cup: fold 1/4 cup smooth peanut butter into batter and top with a mini peanut butter cup (or sunbutter cup for nut-free).
Mix-and-match topping ideas
Change the whole feel of a cupcake by switching the topping rather than the batter.
- Whipped cream & berries: light topping for fruity cupcakes.
- Swiss meringue buttercream: silky finish that works with chocolate or red velvet.
- Crumb streusel: mix 2 tbsp brown sugar, 2 tbsp almond flour, and 1 tbsp butter for a crunchy top (use vegan butter if needed).
Quick pairing tips
Match intensity: pair light batters (lemon, vanilla) with light frostings and rich batters (chocolate, caramel) with denser frostings. Test small batches when trying new blends or substitutions to find the balance that pleases your guests.
Decorating and presentation tips for gluten-free cupcakes
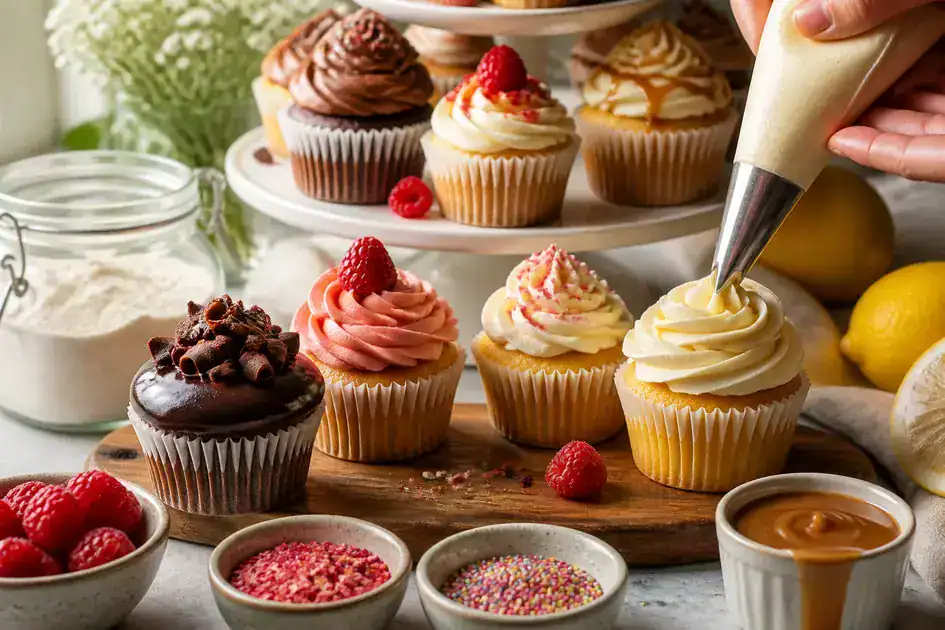
Use simple, clean techniques to make gluten-free cupcakes look professional without extra fuss.
Frosting choices and consistency
Choose a frosting that holds shape and stays moist: American buttercream, cream cheese, or stabilized whipped cream work well. Aim for a spreadable but pipeable texture—thicker for tall swirls, softer for smooth finishes.
- American buttercream: 1/2 cup butter + 3–4 cups powdered sugar + 1–2 tbsp milk; beat until smooth.
- Cream cheese: 4 oz cream cheese + 1/4 cup butter + 2 cups powdered sugar; chill slightly before piping.
- Dairy-free option: use vegan margarine or coconut-based frosting and chill to firm before decorating.
Piping and basic techniques
- Fit a piping bag: choose a tip (star for swirls, round for dots) and fill the bag two-thirds full so it’s easy to control.
- Hold correctly: grip the bag near the top and apply even pressure—move the bag, not your fingers, for smooth motion.
- Practice on parchment: test the flow before piping cupcakes to avoid surprises.
- Apply a crumb coat: for unstable crumbs, lightly thinly coat cupcakes, chill 10 minutes, then pipe the final layer.
Toppings, textures, and color
- Fresh fruit: berries and citrus slices add color and brightness—place them after frosting so they stay fresh.
- Crunch: toasted nuts (or pumpkin seeds) and crumb streusel add contrast—label if nuts are present.
- Drizzles and glazes: warm ganache or caramel poured gently gives a polished look; cool slightly before applying.
- Edible flowers and herbs: small blooms and mint sprigs create elegance—use food-safe varieties.
Presentation and serving
- Use tiers and stands: display cupcakes on a tiered stand or wooden board to add height and visual interest.
- Group by flavor: arrange similar flavors together and add small props (whole vanilla bean, lemon halves) to hint at taste.
- Keep labels clear: indicate “gluten-free” and any common allergens on a card to reassure guests with dietary needs.
- Serve at the right temp: bring chilled frostings to a cool room temperature for best texture and flavor.
Practical tips for cross-contamination and storage
- Separate tools: use dedicated bowls, spatulas, and piping tips for gluten-free baking to avoid cross-contact.
- Store properly: keep unfrosted cupcakes in an airtight container at room temp for 1–2 days; refrigerate frosted cupcakes and bring to cool room temp before serving.
- Transport safely: place cupcakes in a container with a flat lid and use parchment dividers or cupcake carrier inserts to prevent sliding.
Fun facts about cupcakes and gluten-free baking
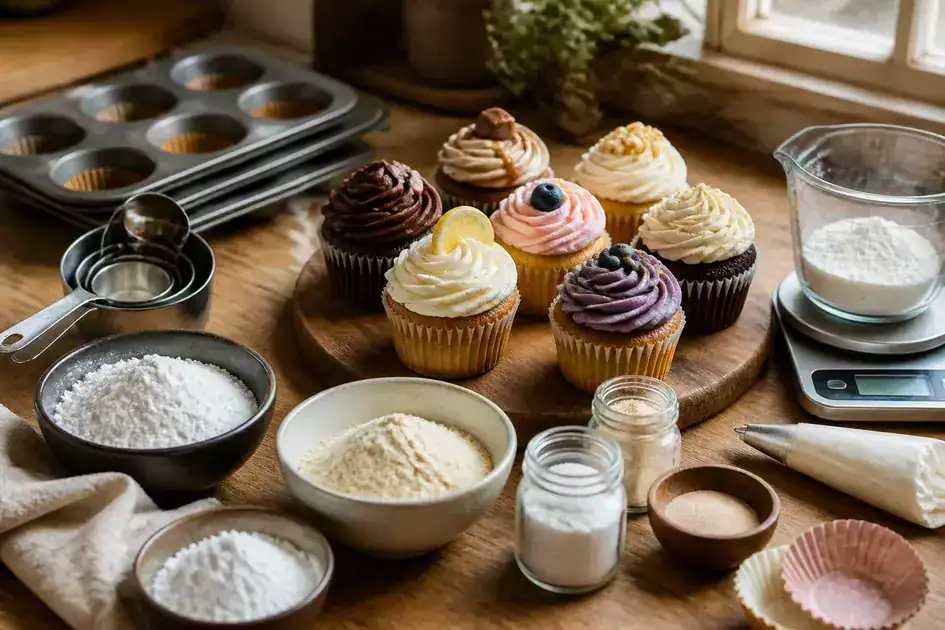
Cupcakes pack history, science, and a bit of fun into one small treat. People loved them because they were easy to bake and portion.
- Origin of the name: “cupcake” once meant cakes baked in cups or cakes sized by a single cup measurement.
- Early convenience: 19th-century recipes often used cup measurements, making cupcakes simple for home bakers.
- Mini creativity: cupcakes became a canvas for decorators—tiny size lets you try bold flavors and designs.
- Gluten-free roots: many cultures have long used non-wheat grains like rice, corn, and almond to make cakes.
- Binders matter: modern gluten-free baking relies on xanthan gum, psyllium, or eggs to replace gluten’s structure.
- Starch trick: adding tapioca or cornstarch lightens crumb and reduces grittiness in gluten-free cakes.
- Weighing wins: bakers who weigh flours and starches get more reliable cupcake texture than those who use cups.
Why gluten-free behaves differently
Gluten gives regular cake batter stretch and traps air. Without it, you need ingredients that mimic those properties.
- Xanthan gum tips: small amounts (about 1/4–1/2 tsp per cup of flour) add elasticity but too much makes things gummy.
- Psyllium benefits: psyllium husk creates a more elastic, moist crumb that holds together well.
- Almond flour effect: a bit of almond flour adds tenderness and a richer mouthfeel to gluten-free cupcakes.
- Test batches: because blends vary, bakers often make a few cupcakes first to adjust liquid and binder levels.
- Texture hacks: folding in sour cream, yogurt, or extra egg yolk can boost moisture without weighing batter down.
Quick fun note: cupcake contests and social media transformed these little cakes into a place to show off flavor combos and playful decorations.
Making gluten-free cupcakes can be simple with the right flour blends, binders, and a few easy tricks. Try small test batches and keep notes to find your perfect texture and flavor.
Thanks for reading! Follow us on social media for quick tips, recipe ideas, and photos. Also follow the Mestre das Receitas Cooking Blog for new gluten-free recipes and step-by-step guides.
We appreciate your time — happy baking, and we hope to see you online soon!
FAQ – Gluten-Free Cupcakes
What flour blend should I use for gluten-free cupcakes?
Use a reliable 1:1 gluten-free all-purpose blend with xanthan gum. Or try a DIY mix by weight: 40% white rice flour, 30% tapioca starch, 20% sorghum, 10% almond flour.
Can I substitute eggs and dairy in recipes?
Yes. For eggs use flax eggs (2 tbsp ground flax + 6 tbsp water per egg) or commercial egg replacer. For dairy, swap butter with neutral oil and use plant milk or dairy-free yogurt for buttermilk and sour cream.
Why are my cupcakes gummy or wet inside?
Common causes are too much xanthan gum, excess liquid, or underbaking. Reduce xanthan slightly, check bake time with a toothpick, and adjust liquids by tablespoons until batter is scoopable.
How do I stop cupcakes from sinking in the middle?
Use fresh baking powder/soda, don’t open the oven early, fill liners about 2/3 full, and verify oven temperature with a thermometer. Measure leaveners carefully to avoid over-rising and collapse.
How should I store gluten-free cupcakes?
Keep unfrosted cupcakes in an airtight container at room temp for 1–2 days. Refrigerate frosted cupcakes for 3–4 days and bring to cool room temperature before serving. Prevent cross-contact with gluten-containing foods.
Are gluten-free cupcakes safe for people with celiac disease?
They can be if every ingredient is certified gluten-free and you avoid cross-contamination. Use dedicated tools, clean surfaces, and check labels to ensure safety.